


JUL 16
WRITTEN BY JIM DAVIS
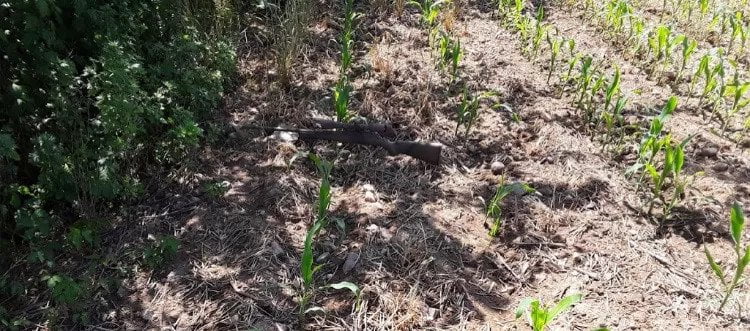
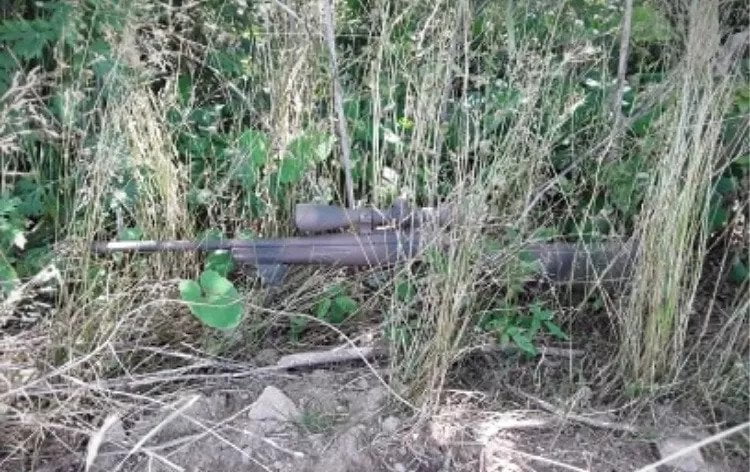
Why might you want to paint your rifle? There are a few reasons. Many rifles are black or dark-colored, which is a major target indicator. If you believe your rifle might be used for “social purposes,” then earth tones might be for you. Breaking up the outline would be a very positive thing.
Aside from that, if you live in a warm/hot climate, rifles get very hot in the sun. Adding some lighter colors will help prevent your rifle from becoming a scorcher. This applies not only to the range but also when you are out hunting.

Sometimes, we just like a change, and painting a rifle can simply look neat. People add all sorts of “bling” to their rifles to make them personalized and to look neat. Adding some colors can really personalize our firearms.
There are certain circumstances where I would not advocate painting a firearm, and that is if it is issued by an agency. Be sure to ask first, because some agencies would not take kindly to your customizing their equipment!
Also, if you plan on reselling or trading in your firearm, it might not be the best idea to paint it.
How To Paint A Rifle
Pick Out The Paint
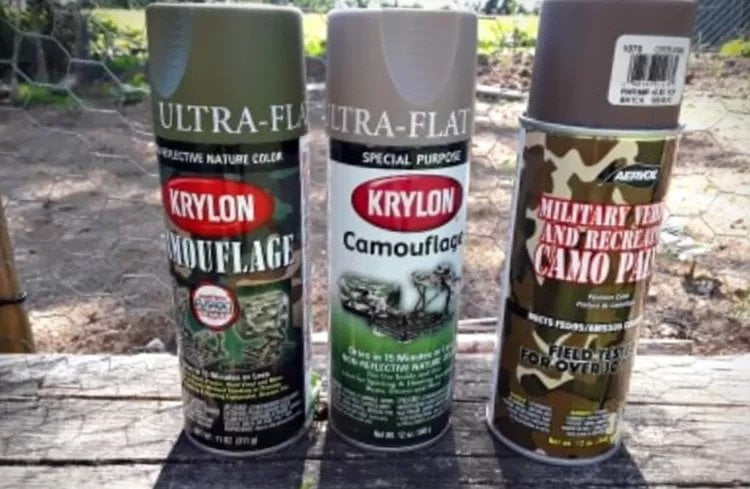
What materials will be needed (aside from a firearm)? I chose a few different paints, including Aervoe brand Coyote Brown, which is a pretty durable paint. I used this choice as my base coat because Coyote blends well in most of the environments that I’d use my gear in. This paint isn’t cheap; when I finally found some on Amazon, it was around $20 for one can! But friends recommended it so highly that I had to try it. I wanted a durable, functional base coat.
The balance of paint that I used was Krylon, which is not as durable, but it’s cheap and available. I chose Olive Drab and Sand.
To get used to how the paint cans function, I painted a few AK and AR magazines, which gave me some valuable practice to get the hang of things. I recommend playing around a bit on some items that are not expensive to get some practice, it will pay dividends in the long run.
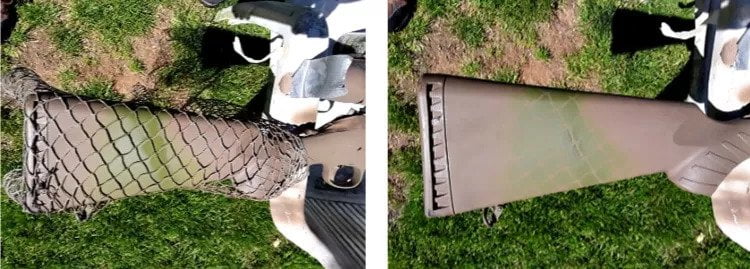
Netting or Stencils Can Be Used to Create Patterns
You can also include some netting for variety. Lay the netting over the area to be painted, and when you spray, it will give you a sort of “grid” pattern to further break up the outline of the weapon. Remember throughout this project that you are in charge! If something does not turn out the way you like, then you can always repaint it, so relax and have some fun with the project.

If desired, you can use cardboard or a manila folder to cut some stencils of camouflage patterns into. You can hold these near the rifle and spray them to give a camo pattern to the surface of your rifle. I did not opt for this route, but some friends have reported favorable results with this method.
Painting a Rifle, Step by Step
1. Make Sure It’s Clean!
The first thing I did was wipe the rifle down with rubbing alcohol to make sure the surfaces were clean and free of oils and solvents. This only took a minute, no need to overdo it.
Letting the rifle sit in the warm sun for about 15 or so minutes will help because the surfaces will heat up, helping the paint to dry more quickly. It’s not necessary to heat it up enough to fry an egg on the surfaces.
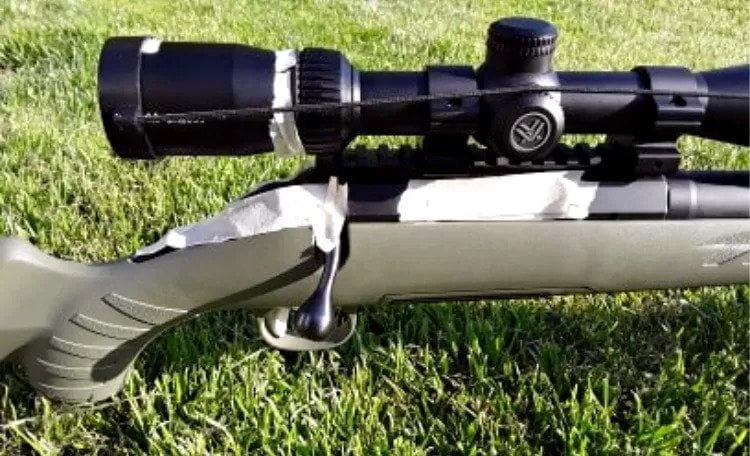
2. Tape It Off
After that, I taped up everything that I didn’t want to be painted, including the lenses of the scope and the adjustment ring, the bolt, the safety catch, and the trigger area, along with the muzzle of the rifle. Pretty much everything else gets painted.
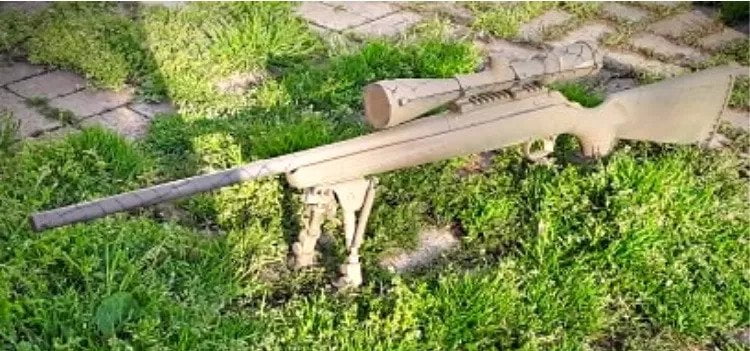
3. Apply the Base Coat
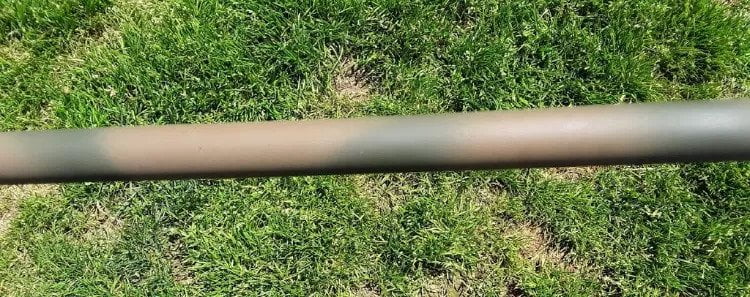
Personally, I just gave everything a base coat of Coyote, making sure to hold the paint can about a foot away from the rifle so as to gradually lay on several coats of paint. Be careful not to hold the can too closely because the paint will load up and run quickly.
Once the base coat is all set, I recommend letting it dry. Allowing the paint to cure for a few days helps a lot. Handling it too quickly will mar the fresh paint (ask me how I know).
4. Use More Color to Add Patterns
The next order of business is adding splotches or streaks of color to that base plate. You can also use that netting to lay over the base color for the grid pattern, which can give neat looking results. Again, if you don’t like it, just hit it again with the rattle can and it’s instantly redone. For my splotches, I chose to go mostly with the OD green.
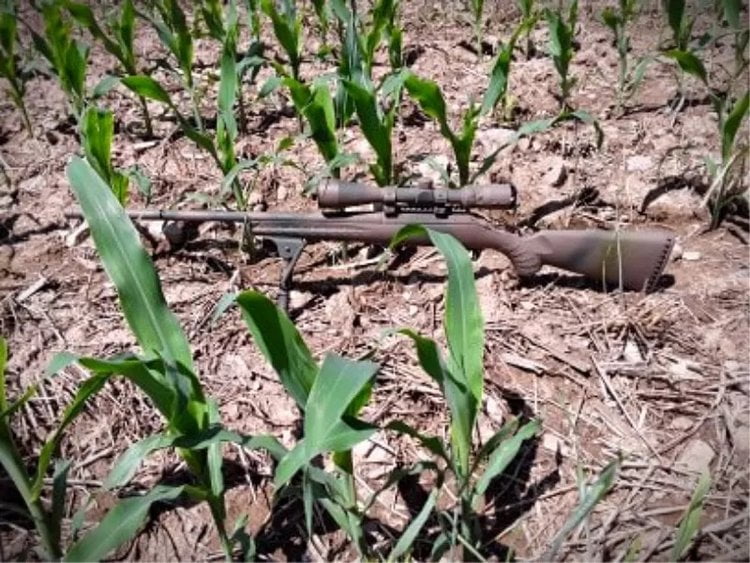
I tried to balance the brown and green on my rifle to best match the most conditions that I’d use the rifle in for my area.
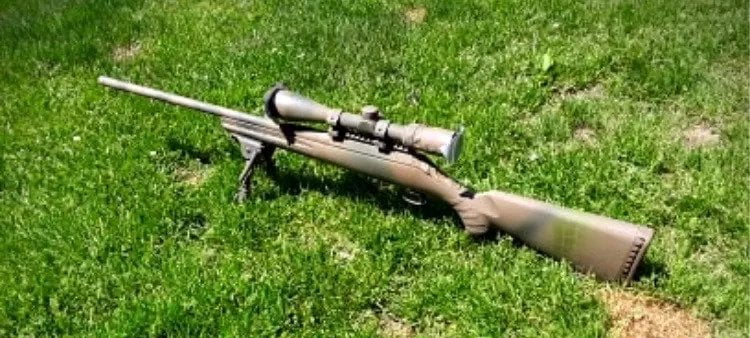
The main goal is to break up the outline, and prettiness is not the goal. Depending on your skills and creativity, though, results can be pretty impressive. As I said before, if it doesn’t turn out how you’d like, you can always paint over it.

There Are Other Ways to Paint a Rifle, Too
There are other, more durable treatments that can be used for your rifles (and other firearms), such as Cerakote or Duracoat, but these require special measures such as baking the finish on, which entails stripping down the firearms and jumping through all sorts of hoops. The purpose of using simple rattle cans is in keeping with my simple, easy approach that is also economical and quite practical to do at home.
Well, there you have it. If you decide to forge ahead with the project, take your time and plan it out. The results can be very rewarding.
Written by: Jim Davis
Read the original article in its entirety at ANACHROBELLUM.